
A couple of weeks ago I posted about developing my new novel idea, what I am affectionately calling AmbitiousWIP. In that post, I discussed how and why I like to begin a new project by setting up my story structure first. If you haven’t seen the post, I recommend starting there.
If you read my previous post and are following along at home you should now have:
1. An idea for a story that won’t leave you alone.
2. A sense for what genre and age category your story idea will fit into.
3. A word count goal and an approximate idea of how many chapters you will need to reach said goal, based on your average per chapter word count.
4. Your notecards mapping out your structure, serving as the scaffolding you’re going to hang your story on. I like to arrange mine on a large foam pin board.
So, now we get to fill out the colorful note cards with all our cool story ideas we’ve been day dreaming about while we wash the dishes or go for a walk or take a shower, right?
Not quite. Not yet.
Again, this is where I tell you I don’t have an MFA, that I am a capital P planner, and that these are your notecards. You can do whatever you want with them, including throwing them into your recycle bin because you actually hate notecards. (Congratulations, you’ve just discovered you’re a Pantser). This is what works for me.
So, if I don’t fill out the notecards yet, what is next? A 100+ page workbook that helps me find my story, first by getting to know my characters, and then by mapping their moments onto the structure scaffolding. The pages are all opportunities for me to explore what I need to know before I start drafting. It almost all pertains to character development and backstory. It might not ever make it onto the page, but I need to know the answers to these questions.
What I don’t have in my workbook is a page for character descriptions. At this stage, it doesn’t matter what color hair or eyes my protagonist has or how tall her love interest is, a fact my screenwriting professor was adamant about: we were screenwriters, not casting directors. Yes, books are different. You get to describe your protagonist however you want. Just not right now.
If there is some physical element that does matter to the story, I add that to my notes page in the beginning, or perhaps under the section on my character’s misbelief if it belongs there. I also don’t have a section for setting, so I make a note if it matters. For AmbitiousWIP, I’ve noted the alternate historical setting on my first page, but the actual descriptions won’t come until I’m drafting. I note what I discovered when making my note cards: genre, word count goal, and if it’s standalone or series. I also like to list any potential comp titles I might think of as I develop my themes and characters, and note anything that I might want to incorporate—what tense I might write in, are there multiple POVs, any world building facts I need to keep in mind, or even a quote that inspires me or captures the theme.
The specific pages for your workbook depend on you. Do you use a certain method or book or class when you draft? I found the workbook especially helpful for pulling from multiple sources so that I had all my pre-drafting information in one place, and so I could pick and choose the parts from different methods that worked best for me. Personally, I developed a lot of the pages in my workbook from Lisa Cron’s Story Genius, taking her chapter activities and making my own worksheets to complete. I also used Jessica Brody’s Save the Cat Writes a Novel for her Story Worthy Hero Checklist, and her want/need/misbelief questionnaire compliments Cron’s development of the Third Rail nicely. (Check out the books for an in-depth explanation of these concepts). I also have sheets for all of the beats up on my pin board, mapping the Cause, Effect, Third Rail and Realization of each scene like Cron demonstrates in Story Genius. This is without a doubt the bit that takes the longest, but I prefer reworking my scenes at this stage rather than rewriting a scene a hundred times and still not getting it to work (usually because it has nothing to do with the Third Rail).
Generally, I start broad—what am I trying to say by telling this story and who is the best protagonist to tell it? What does she want, what does she need, what is standing in the way of her achieving her goal (Note: If your intent is to try for traditional publishing you’ll need all this information for your query letter, something you can absolutely write before you write your book as another tool to develop your story).
Next, I delve into my protagonist’s back story. What is she coming into this story believing, and why does she believe it? Where is she in her life when the story opens? I do the same for my major secondary characters. For AmbitiousWIP, I have completed profiles for my main character and two secondary characters, but you may need more or less. For the secondary profiles, I like to note what their relationship is to the main character but also their purpose in the story (antagonist, mentor, etc.)
Then, I find the driving force of my novel, the external problem the protagonist will face. Most likely, this is actually the first thing you thought of, that story idea that wouldn’t leave you alone. But, now that you have your protagonist developed, you can adjust your plot problem as needed to fit them. The problem should be the most challenging thing they could face, something that is specifically devastating for your protagonist that also serves to prove your point.
With my protagonist fleshed out and a problem in mind, I move on to my scenes. You don’t have to know every detail about your protagonist to start, in fact, you won’t. They will develop as you write. You just need to know where they’re starting and what makes them tick. Each scene will be a way for you to test them and discover more about them.
As I mentioned in my previous post, I don’t fill out my scenes in order. For AmbitiousWIP, I mapped the Opening scene first, then the Ending, then the Catalyst, then Break into II. I went back to map the scenes between the Opening and the Catalyst, then between the Catalyst and the Break into II, rounding out my first act. I mapped the Midpoint next, and went back to reassess my ending. I’m currently working on the first part of Act II, between the Break into II and the Midpoint. I will probably fill in the first two chapter worksheets for Act II, then jump over to the First Pinch Point before filling in the gaps, then continue on from the First Pinch Point to the Midpoint.
Like I mentioned last time, I like to break up my story into smaller, more manageable chunks. If you’ve set up your notecards like I did in my previous post, you’ll notice that the scenes I filled in first corresponded to orange cards, those major turning points for the plot.

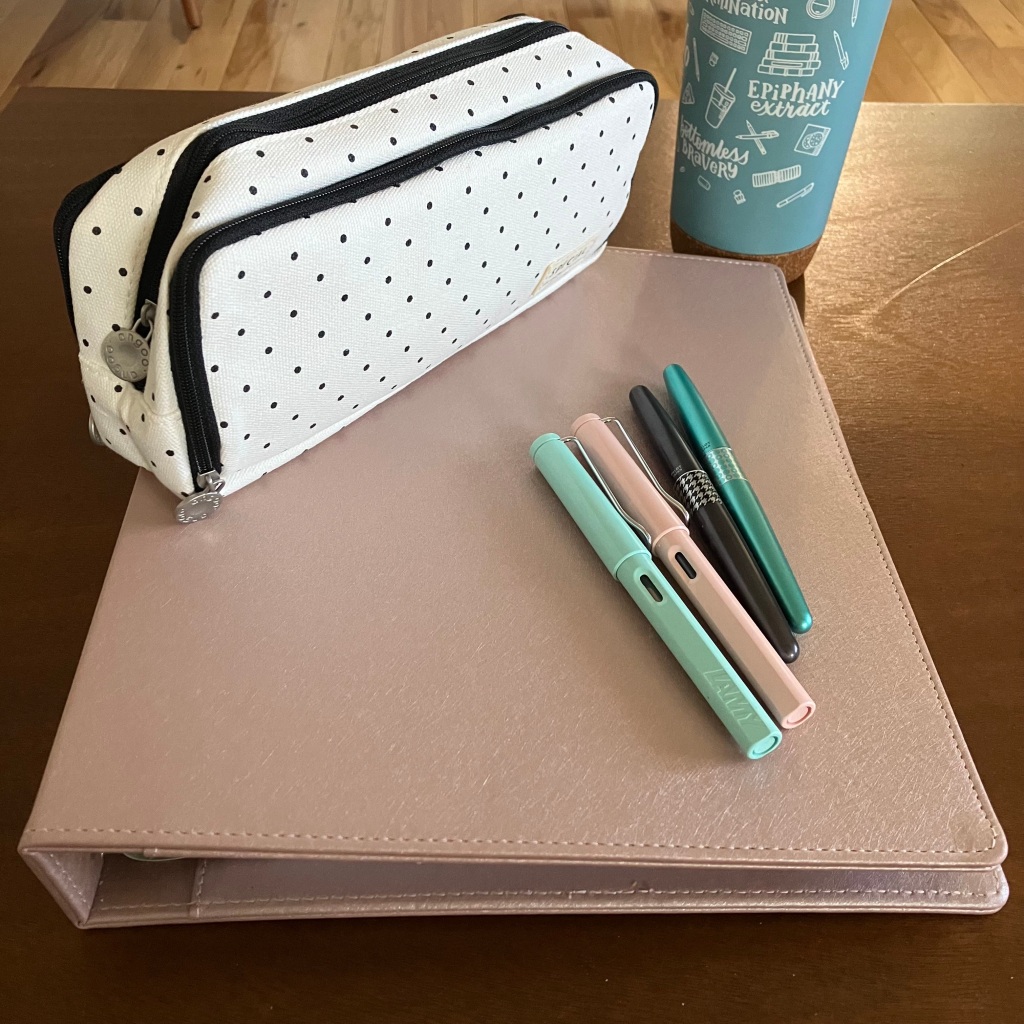
I have all of my workbook pages printed and arranged in a rose gold three ring binder (yes, as my sister says, my Millennial is showing). I like to fill them out with an array of colorful inks in my fountain pens, no rhyme or reason or color coding, just because it brings me joy. I like not being distracted by being on my computer and getting some work done away from a screen. Mentally, I feel more able to brainstorm freely when I’m working with paper and pen vs typing, but this—like all of this—is personal preference. Do what works for you.
It will take me a few weeks to fill out my entire workbook. When it’s complete, I will have everything I need to fill out my notecards, set up my Scrivener document, and start on my first draft. I hope to see you there!

Leave a comment